Components to carry out projects with Arduino
This page will collect the main electronic components necessary to carry out projects with Arduino.
When preparing this list, an attempt has been made to cover the necessary components so that the greatest number and variety of projects can be carried out with the fewest possible number of components. Many projects can be done with fewer components, and some components of some relevance are not on this list. The objective is to reach a good compromise so that this kit achieves the best possible quality/price ratio.
Electronic components for Arduino
| Amount | Component |
|---|---|
| Controller | |
| 1 | Arduino UNO board |
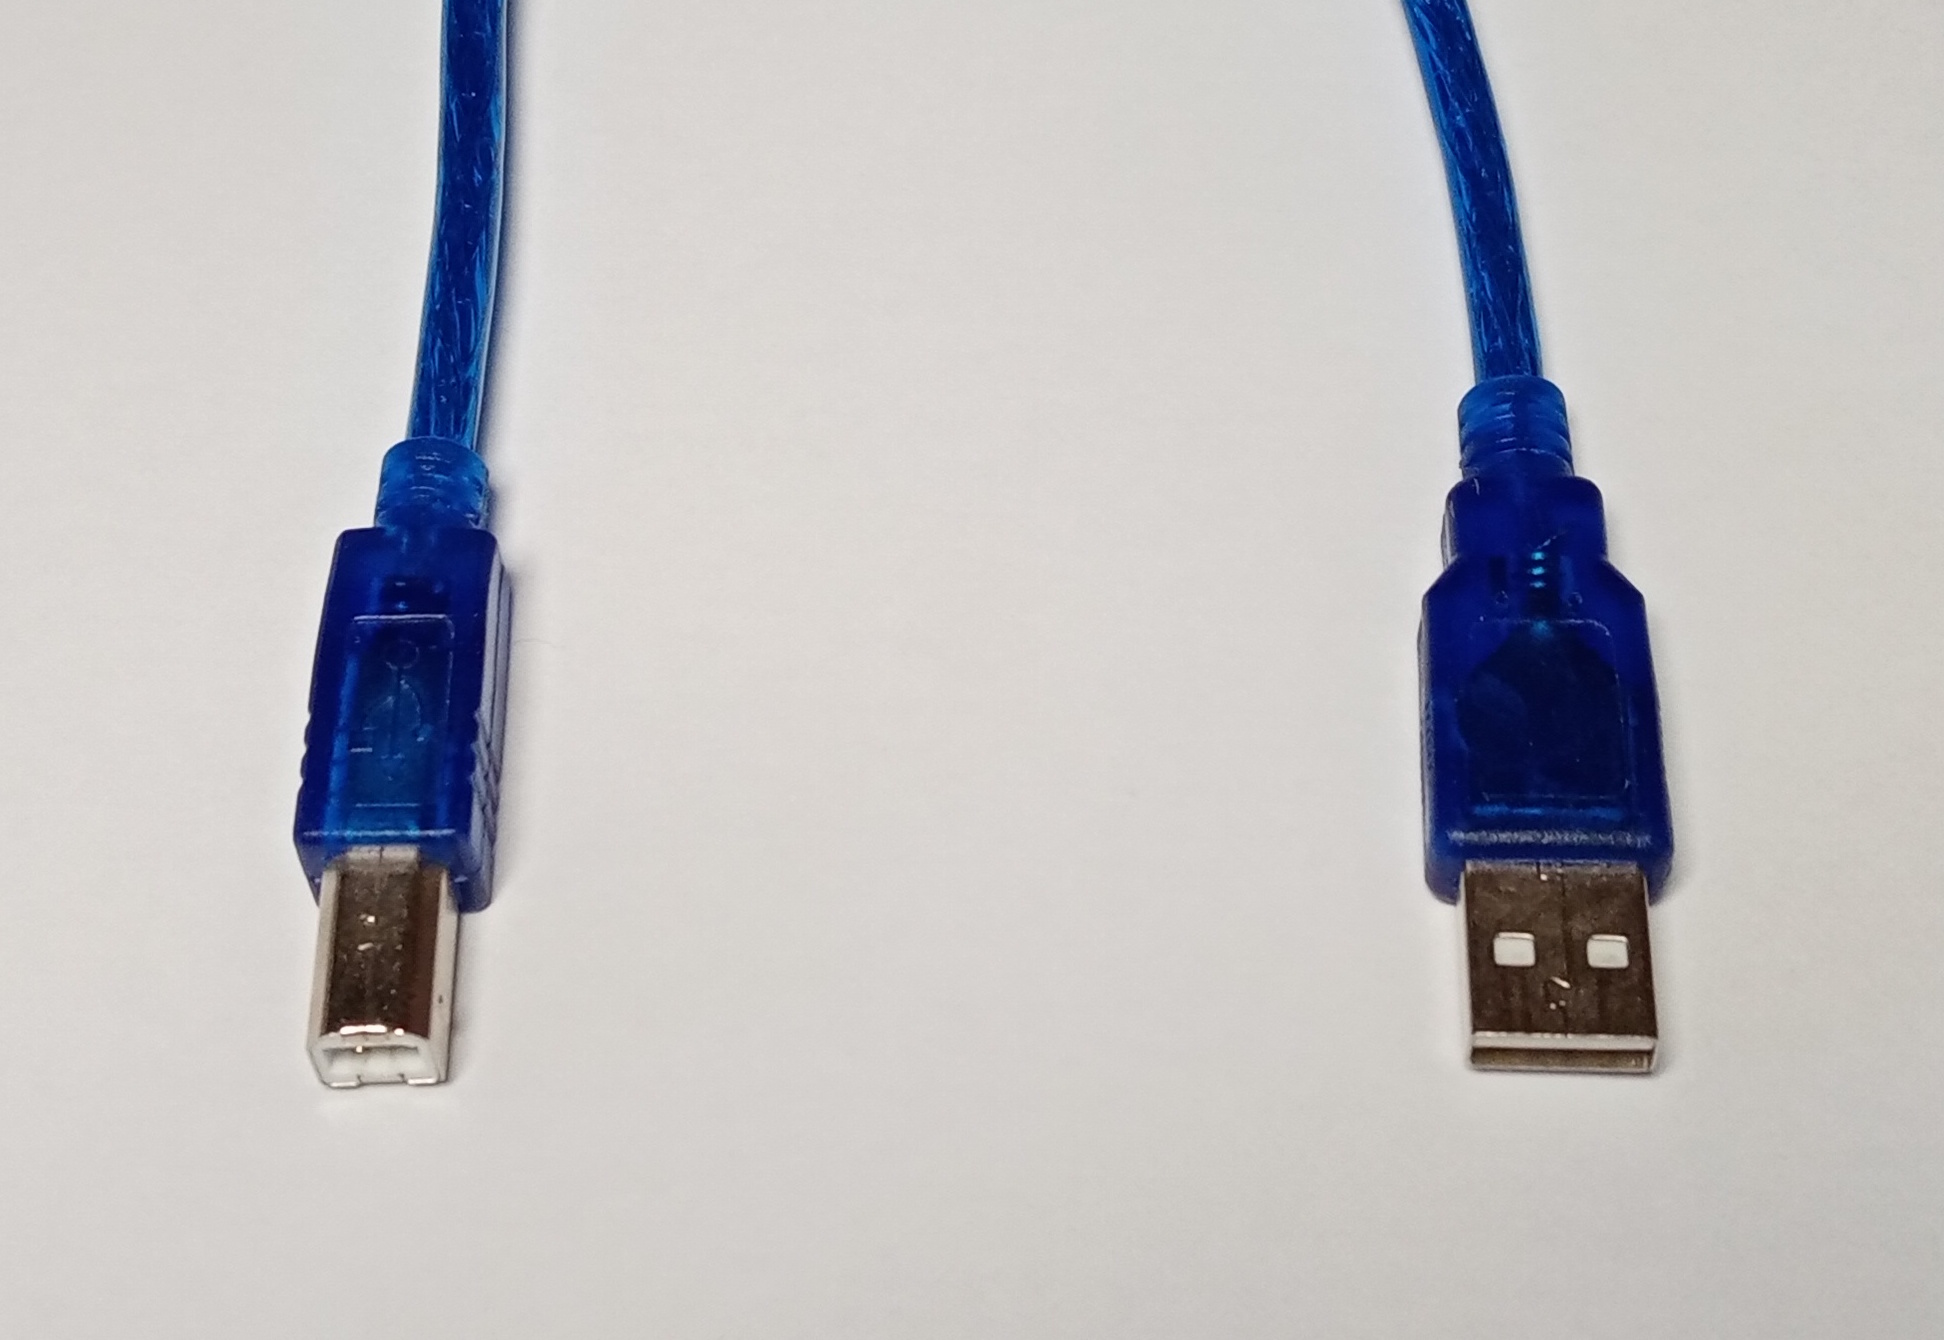
| 1 | USB communications cable with A and B terminations |
| Digital | |
| 5 | LEDs of various colors, high luminosity. Red, Green, Yellow, Blue, White. |
| 1 | Common anode tricolor RGB led. |
| 1 | 7 segment led display. |
| 1 | 16x2 alphanumeric LCD display.
I2C communication converter to LCD display
|
| 1 | Picuino PC42 control panel. |
| 5 | Normally open pushbuttons for mounting on a printed circuit. |
| Actuators | |
| 1 | Piezoelectric or electromechanical buzzer. |
| 2 | Tower-Pro SG90 9G servo motor. |
| 2 | BD135-16 Power Transistor |
| 2 | Diode 1N4007. |
| 2 | DC motor with reducer. |
| Sensors | |
| 1 | Ultrasonic distance sensor SR-04, SRF-05 or similar |
| 2 | Light sensing LDR resistor with nominal resistance of 10k Ohms.
Photodiode (needs added electronics to condition the signal)
|
| 1 | NTC temperature sensing resistor with nominal resistance of 10k Ohms. |
| 1 | 10k Ohm rotary potentiometer. |
| Communications | |
| 1 | Infrared sensor TSOP4838 or similar. |
| 1 | Infrared emitting diode. |
| 1 | Infrared remote control. |
| 1 | Bluetooth communications module with adapter for 5 volts |
| 1 | ESP8266 WiFi communications module. (needs voltage regulator at 3.3v) |
| Other components | |
| 1 | Breadboard of 400 or more contacts |
| twenty | Flexible male-male dupont cables. |
| 10 | Flexible male-female dupont cables. |
| 10 | 220 Ohm bias resistors. |
| 10 | 10k Ohm bias resistors. |
| 5 | Capacitors without polarity of 1uF and 16 volts. |
| 2 | Electrolytic capacitors of 100uF and 16 volts. |
The bias resistors for the LEDs can be between 180 Ohm and 680 Ohm. It is not convenient to use lower values so that in no case do they exceed the 20 milliamps that a typical LED supports at most without melting. Higher resistance values produce little light.
The Arduino Nano control board is cheaper, smaller and can be inserted into a breadboard simplifying the assembly of the complete circuit.
The drawbacks of this board are that it has a lower power current capacity in the 3.3 volt regulator and that the 5v power from the USB has voltage drop, lower current capacity (0.5A of the MBR0520) and does not have resettable fuse.
When the Arduino Nano board is powered from USB and there is an overload, the internal diode blows and the board stops working on USB power. The board will continue to work only if it is powered externally by batteries.
The easiest light sensors to use are LDR resistors. Unfortunately, these resistors contain a very polluting metal, cadmium. This is the reason why many suppliers of electronic components no longer include them in their catalogue. The substitute for this sensor is the photodiode, but its linearity makes it more difficult to handle in environments with large changes in brightness. In addition, the photodiodes deliver a very low current signal that needs to be amplified with an added electronic circuit.
Projects and required components
Here are some sample projects and the electronic components needed to make them.
Robot follows-lines.
Two DC motors with gearbox.
Two light sensors (LDR) to detect the ground line.
In all cases it will be necessary to add the controller (Arduino UNO)