13. Sketch extrusion
Until now we have worked with the Part workbench which is used to directly create 3D objects. These objects can later be joined, subtracted or intersected. This paradigm is called constructive geometry.
From now on we will use a different method. First we will create two dimensional objects (sketch) with the Part Design workbench and then we will extrude that drawing to create the final three dimensional object.
Open the FreeCAD application and click on the icon to create a new document
 .
.We select the Part Design workbench

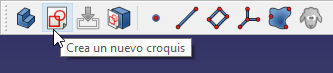
Next we select to create a new sketch.
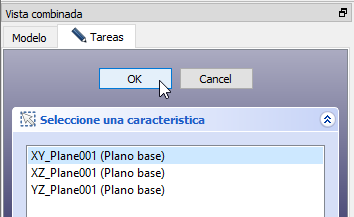
And we choose the XY plane as the base plane to place the new sketch.
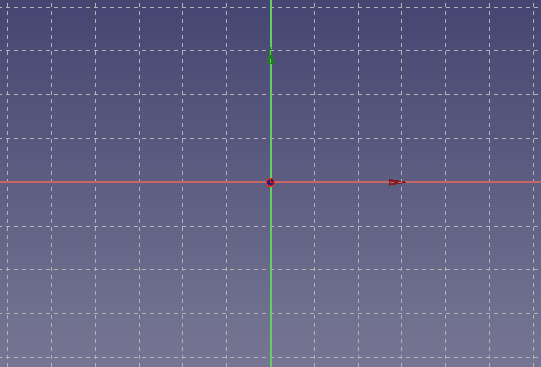
A grid will appear on the screen where you can draw in two dimensions.
Next we are going to draw a simple object, a star.
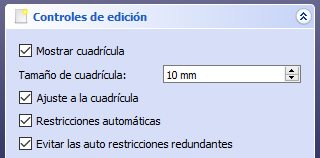
First we adjust the editing controls in the Tasks tab, so that the drawing will fit on the grid.
Now we will create a star with the polyline icon
 .
.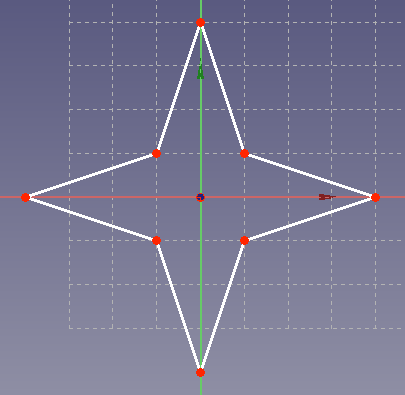
By clicking on the points, we can drag them with the mouse to better refine the dimensions of our drawing.
Once we are done, click on the Tasks tab and click on the
Closebutton. Our drawing will look in plan view as in the following figure.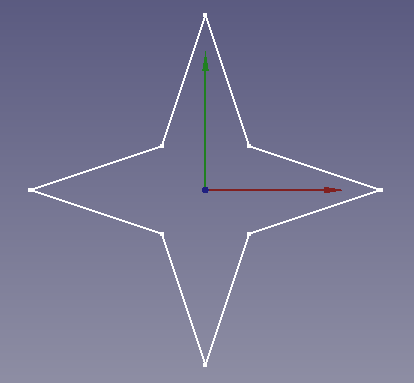
To get a piece in three dimensions we are going to extrude our sketch by selecting the corresponding icon.
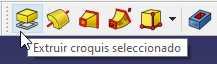
Or selecting in the Menu
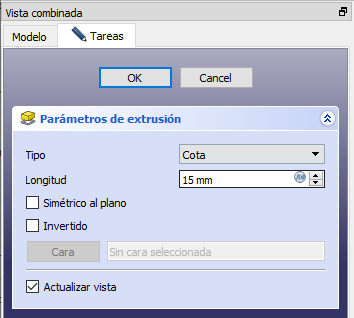
Part Design... ExtrudeIn the extrusion parameters we choose the dimension or height that we want for the part, in this case 15 millimeters.
If we switch to perspective view, we can see our star in three dimensions.
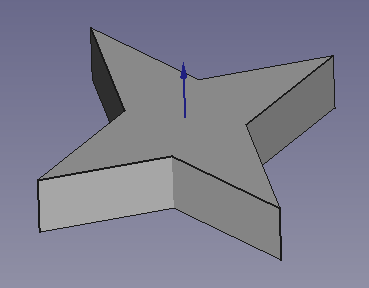
If we now want to edit the object, we will only have to double click on the sketch so that the drawing appears on the screen, with all the points that we have put at the beginning.
This sketch can be edited by dragging the points to a new place and the star in three dimensions will change.
If we want to move the star or rotate it, we will have to do that operation on the sketch.
To change the height of the star, we will have to double click on the Pad object and the extrusion parameters dialog will open again, with the corresponding height.
Exercises
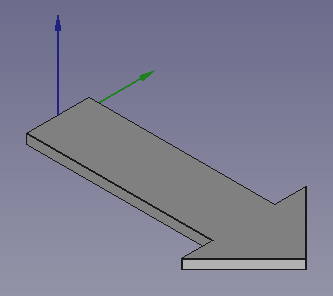
Create a 3D part in the shape of an arrow.
Create an ingot from a trapezoid.
The trapezoid will be drawn with a sketch on the YZ axis.
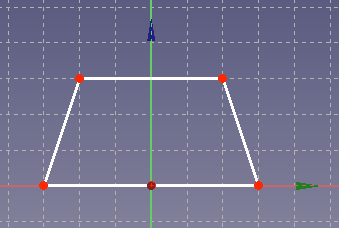
And then it extrudes on the X axis.

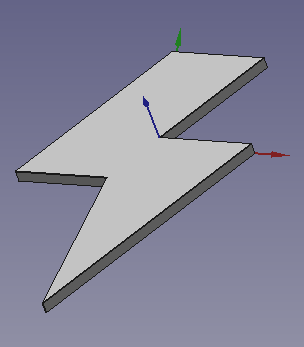
Create the symbol of lightning in three dimensions.
The sketch will be drawn as the following figure.
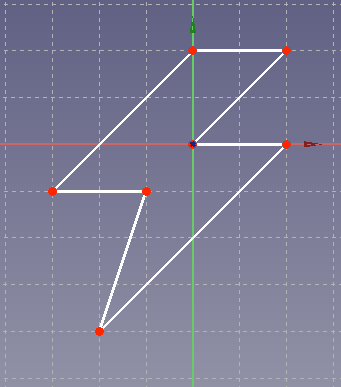
After extruding the figure will look like the following image.
Video-tutorial
Video: Hello world sketch.