12. Toroidal parts
In this tutorial we are going to learn to use another type of solid pieces, the toroids.
Open the FreeCAD application and click on the icon to create a new document
 .
.We select the Part workbench to start designing objects in 3 dimensions.
At this point we are going to add the reference axes to help us place the pieces correctly.
In the menu
View... Activate or deactivate the cross of the axes.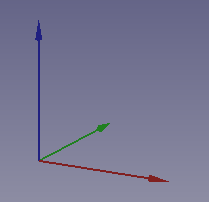
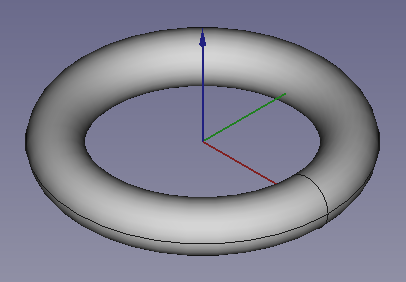
Now we create a torus or 'donut' by clicking the fifth icon on the solid object bar.

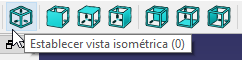
We select to see the piece in isometric view.
The piece will look like the following image.
Next, in the Data tab, we can change the following parameters of the torus.
Radius1 (Radius1) This is the total size of the toroid.
Radius2 (Radius2) This parameter changes the thickness of the torus.
Angle3 (Angle3) This parameter allows you to change the length of the torus.
Change all the parameters to see how they work.
Note
To update the image of the part on the screen, press the function key
F5or in the MenuEdit... Update screen.Next we are going to create a pulley from a cylinder and a toroid. We change the parameters of the toroid with the following values.
Radius1 (Radius1) = 15mm
Radius2 (Radius2) = 2mm
Angle3 (Angle3) = 360º
In the Placement... Position menu, we change the position of the toroid, raising it 3 millimeters, with the following values.
x = 0mm
y = 0mm
z = 3mm
Now we create a cylinder and change its parameters with the following values.
Radius (Radius) = 15mm
Height (Height) = 6mm
Angle (Angle) = 360º
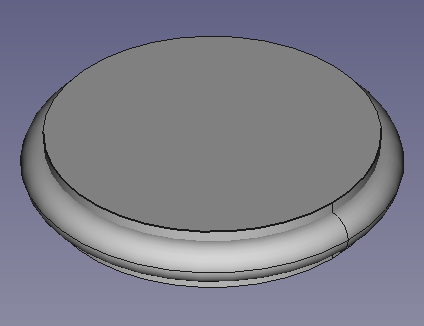
We will obtain the following image on the screen.
We first select the cylinder and then, with the
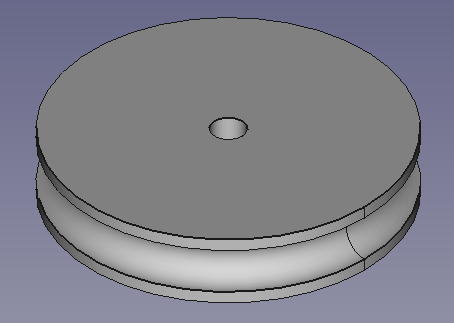
Controlkey pressed, we select the torus. We subtract one piece from the other to get the next piece.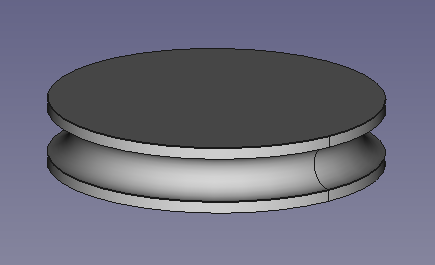
To finish, we'll create a cylinder with a radius of 1.5mm and subtract it to create a 3mm diameter shaft in the center of our pulley.
Exercises
Create a mug using a torus to create the handle.
The cup will be created from a cone. The bottom radius of the cup will be 15mm, the top radius 25mm and the height will be 30mm.
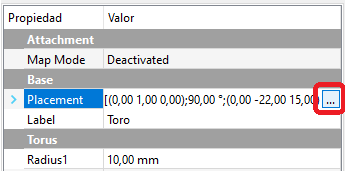
After creating a toroid you have to move and rotate it so that it becomes the handle of the cup. First click on the Data tab and Placement menu.
Then press the button with three dots.
A dialog box will open in which we can Translate and Rotate the torus.
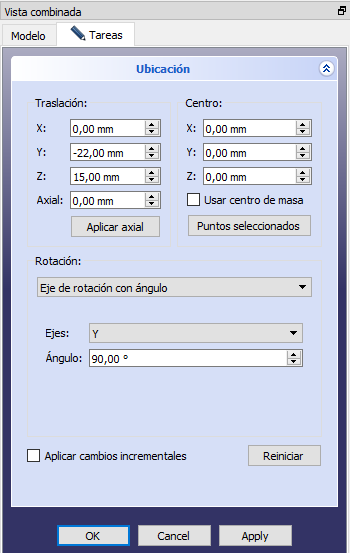
By pressing
OK, the piece will be as seen below in right view.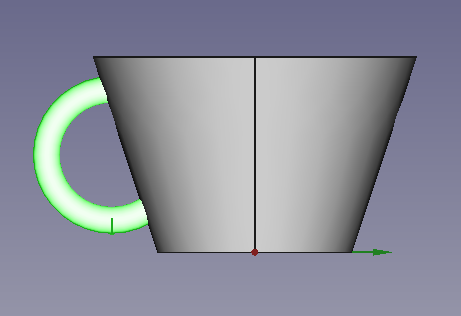
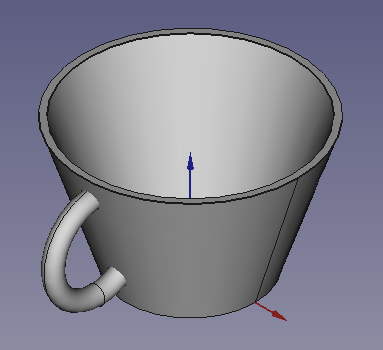
All that remains is to add the two pieces and subtract the hole in the cup, knowing that the walls are 1 millimeter thick.
Create a smiley using a toroid to create the mouth.
The smiley will be created from a cylinder with a radius of 15mm and a height of 3mm. The holes in the face will have a depth of 2mm.
The smile has an angle of 120º and is made without changing the size of the standard toroid.
The eyes are made with standard cylinders, without changing their size, and displacing them 8mm in the X and Y axes.
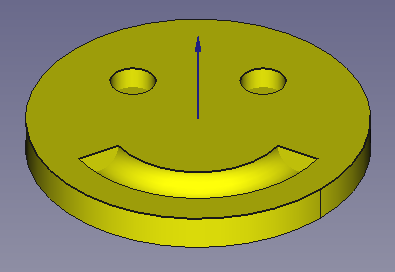
Remember to change the color of the final piece to yellow, in the View tab... Shape color.
Video-tutorial
Video: Using bulls.