3. Translation of pieces
In this tutorial we are going to learn to transfer simple pieces to compose more complex ones.
Open the FreeCAD application and click on the icon to create a new document
 .
.A new tab will open with an empty document, where we can start designing.
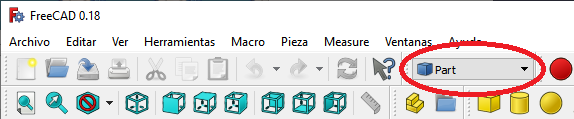
We select the Part workbench to start designing objects in 3 dimensions.
At this point we are going to add the reference axes to help us place the pieces correctly.
In the menu
View... Activate or deactivate the cross of the axes.In English
View... Toggle axis cross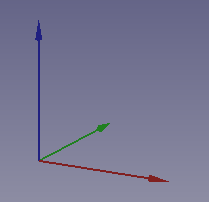
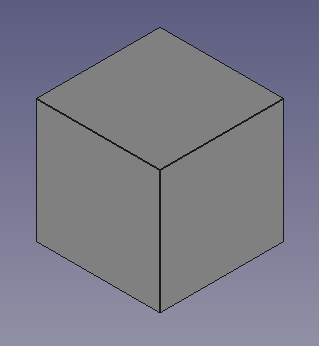
Now we create a cube by clicking the first icon on the solid object bar.

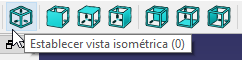
We select to see the piece in isometric view.
The piece will look like the following image.
We select the cube and in the Data tab we open the Placement menu and inside the Position menu.
In this menu we can modify the positions of the cube in the x, y, z axes.
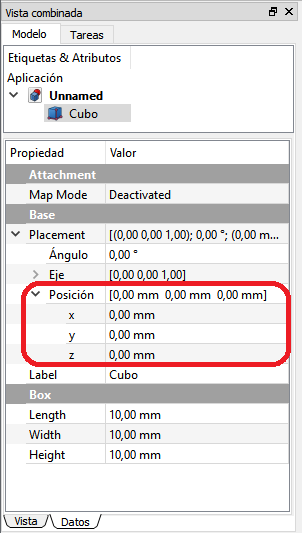
The x, y, z positions can be changed by typing a new number or by clicking the number and rolling the mouse wheel.
By moving the mouse wheel you can see how the cube moves across the screen to its new position.
Exercises
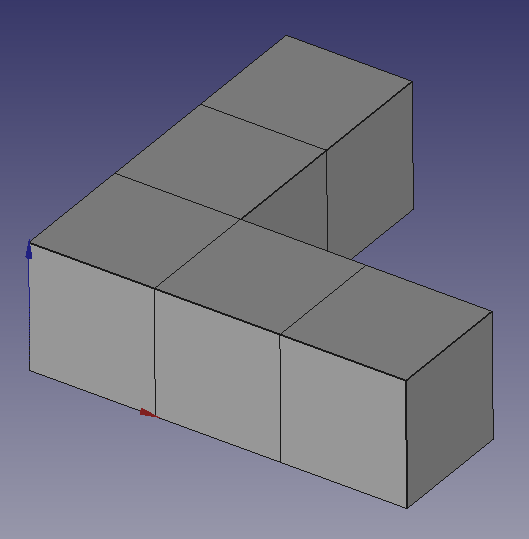
Open FreeCAD and create a new document with three cubes arranged according to the following figure.
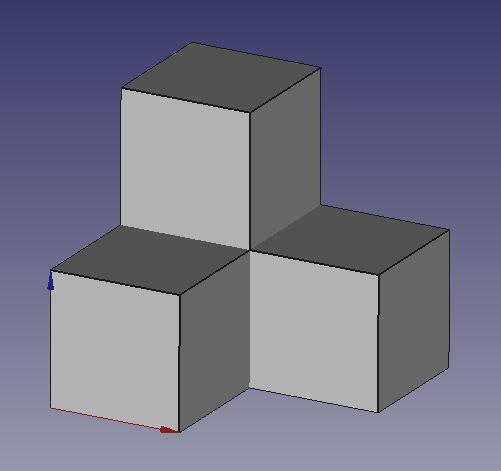
Remember that you need to select a cube before you can move it around the screen.
Remember that the coordinates have to be multiples of 10 so that the cubes are attached to each other without spaces between them and without overlaps.
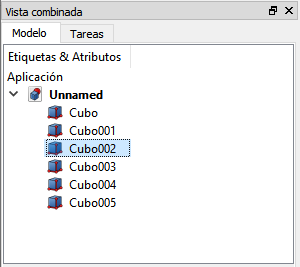
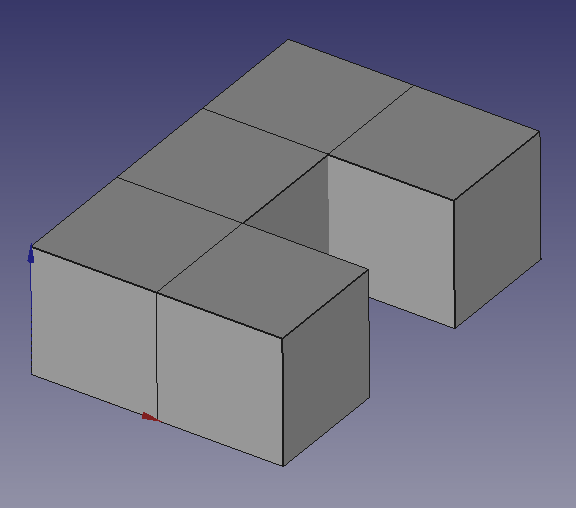
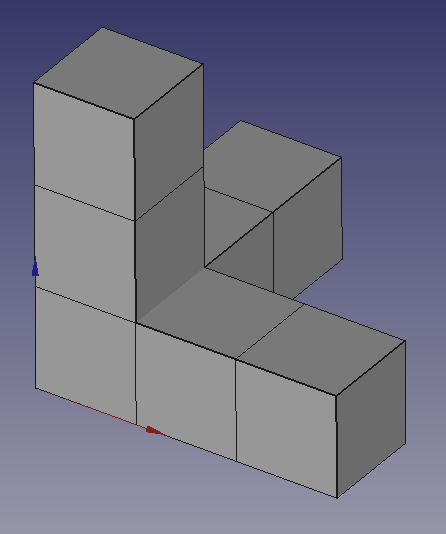
Open FreeCAD and create a new document with five cubes arranged according to the following figure.
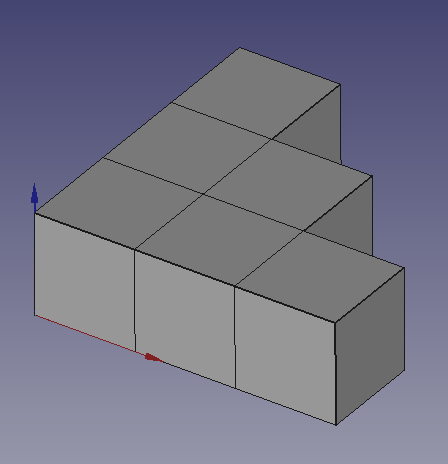
Open FreeCAD and create a new document with several cubes arranged according to the following figure.
Open FreeCAD and create a new document with several cubes arranged according to the following figure.
Open FreeCAD and create a new document with several cubes arranged according to the following figure.
Open FreeCAD and create a new document with several cubes placed to form the TensorFlow, according to the following figure.
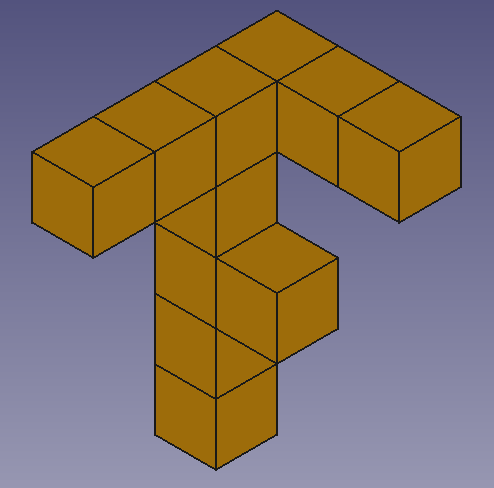
When finished, select all the cubes and change the color of their faces (Shape Color) to orange.
Video-tutorial
Video: Transferring cubes.