7. Nvidia logo
We open a new document with Inkscape.
We copy and paste the logo image from the beginning of this unit into Inkscape to serve as a template.
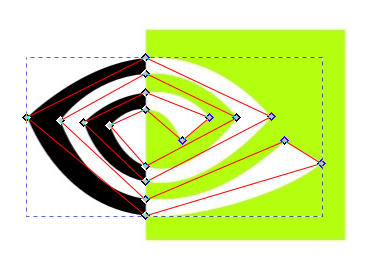
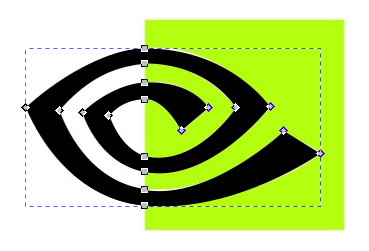
With the tool to draw lines and curves, we draw lines that join all the points of the spiral of the logo, as can be seen in the image.
Then with the node editing tool
 we select the central nodes and in the upper bar we smooth the selected nodes.
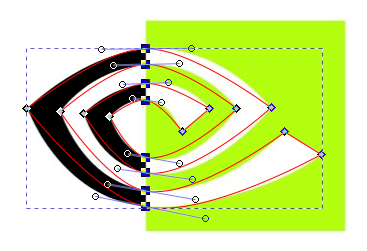
We can now move the node handles so that the bezier curves match the logo.
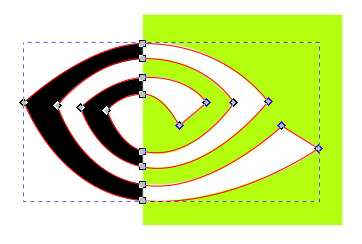
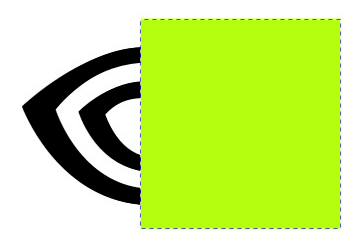
With the curves drawn, we can fill the figure with black color and remove the outer stroke.
To continue, we'll draw a green colored rectangle that matches the logo rectangle in size.
Now we select the two objects and choose the
Path... Exclusionmenu tool.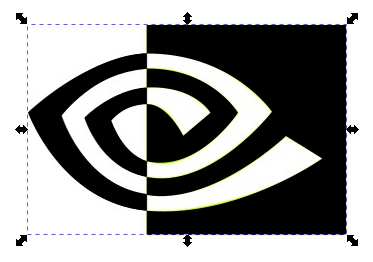
To finish we will have to give a different color to the two sides of the drawing.
Since the drawing is a single object, we will have to separate it with the
Path... Decombinemenu tool which will separate the drawing into parts.Now we must select the parts on the right to give them green color.
Once finished, we select all the drawings again and group them with the
Object... Groupmenu.We already have the logo finished.