10. Phiten logo
We download and install the Add City Boy font before launching Inkscape, so that it is available later.
Add City Boy font on Dafont.com
The font is not the same as the original logo, but it is close enough to be useful for this exercise.
We open a new document with Inkscape.
We copied the logo above in Inkscape to serve as a model.
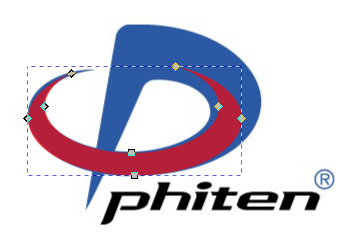
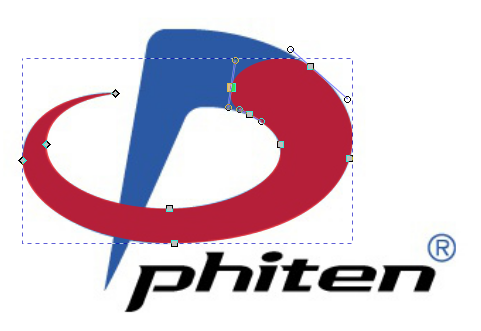
We draw two ellipses and with the editing tool we resize and position them approximately so that they coincide with the beginning of the logo. It will be necessary to give the ellipses a color fill with transparency to be able to see the two drawings at the same time and to be able to adjust them.
It doesn't matter if they don't match the shapes exactly, we'll make them match later by editing the nodes.
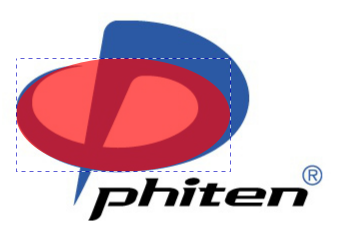
Now we make sure that the smaller ellipse is on top of the larger ellipse and subtract the two ellipses with the
Path...Differencemenu tool.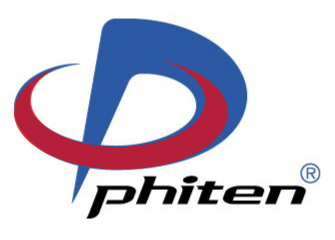
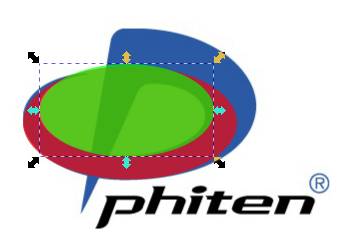
We convert the new object to a path with the
Path...Object to Pathmenu tool and edit the nodes with the node editing tool .
.
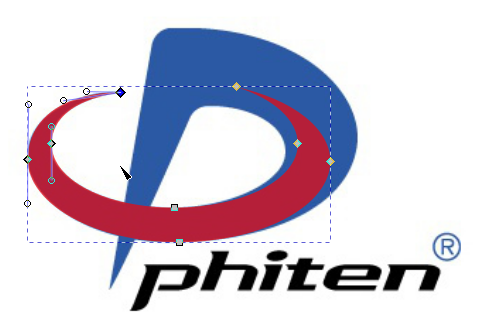
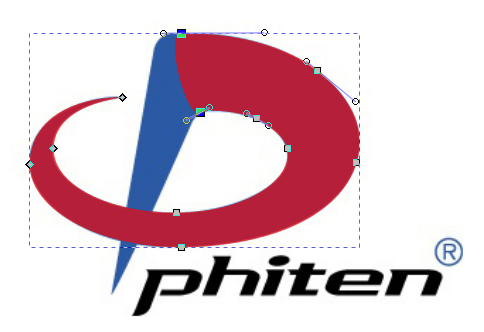
We match the first nodes on the left to the corner of the logo and the first curve by editing the handles for each node.
We continue to edit the nodes to match the shape to the logo
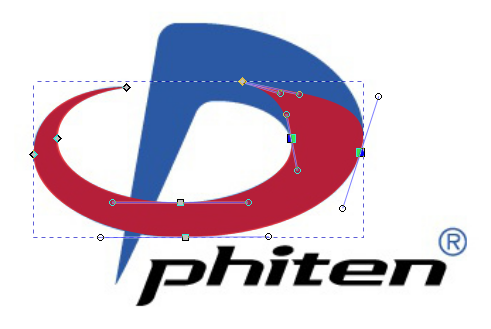
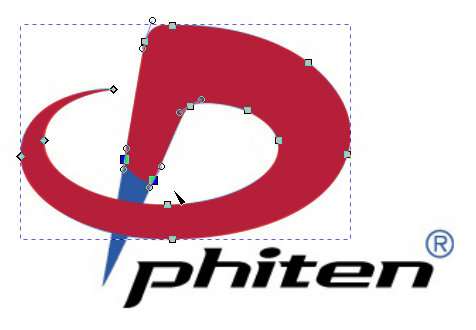
At this point there are no more nodes to edit and there is still a good stretch of the logo to draw. The solution is to add new nodes.
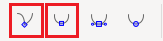
We must select two end nodes and add a new node between them with the corresponding button on the top bar.

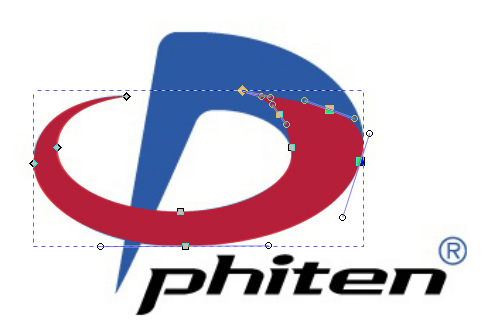
With the new nodes, we continue to expand the drawing until the logo is complete.
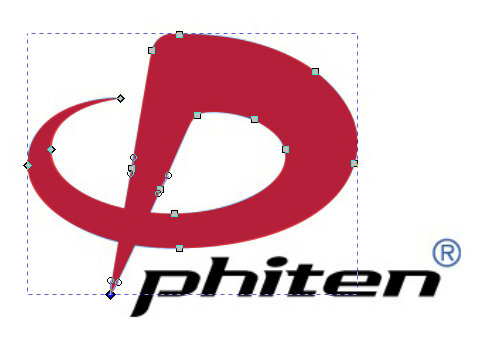
During the drawing process we may need to convert nodes to corners or smooth a corner node. It can be done with the following buttons on the top toolbar.
Now we can write the text of the logo with the font installed at the beginning, Add City Boy.
We write the character '®' (you can copy and paste it in Inkscape) with blue Arial font.
We can now move the logo in bitmap format below. It will serve as a model to give color to the drawings and texts that we have drawn, with the Fill and border tool, copy color.
And the logo will be finished.