9. Adidas logo
We open a new document with Inkscape.
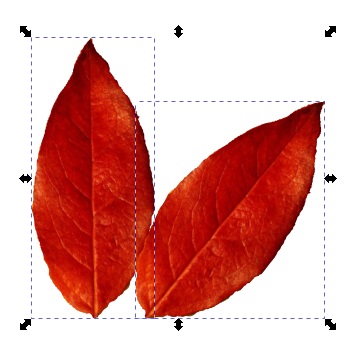
We copy the image below in Inkscape to serve as a model.

Using the freehand line drawing tool || We are going to trace the outline of the central leaf.
The stroke can be done several times. You just have to click on the final square of the previous line to continue.
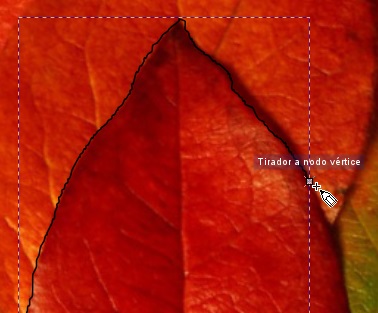
Once all the strokes are finished at the starting point, the sheet will be framed in the drawing made.
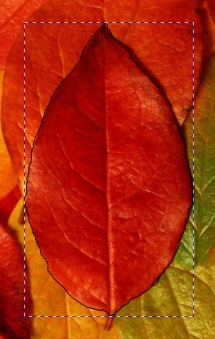
Now we select the two objects (the image of the leaves and the path around the leaf) and choose the
Object... Crop... Applytool. The sheet will have been cropped from the image.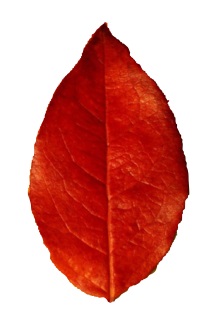
To continue, we select the sheet and taper it horizontally to make it more slender.

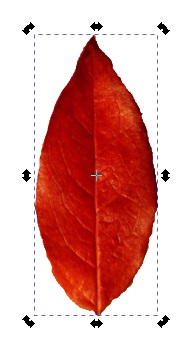
Duplicate the sheet with Control+D or the
Edit... DuplicatemenuClick twice on the sheet until the rotation handles appear.
And we rotate the blade about 45 degrees to the right.
Now we can select the two sheets and align the bottom edges.
We continue duplicating the rotated sheet and make a horizontal reflection
Object... Horizontal reflection. We move the sheet to the left side approximately in place.To place the sheets more exactly, we select the three sheets and with the
Object... Align and distributemenu tool we align the bottom edges and distribute the centers horizontally at equal distances.
The image will look perfectly symmetrical.

To continue, we'll draw a horizontal rectangle over the leaves and duplicate it two more times with Control+D.

We select the three rectangles and with the
Object... Align and distributemenu tool we make sure that they are centered and distributed at equal distances.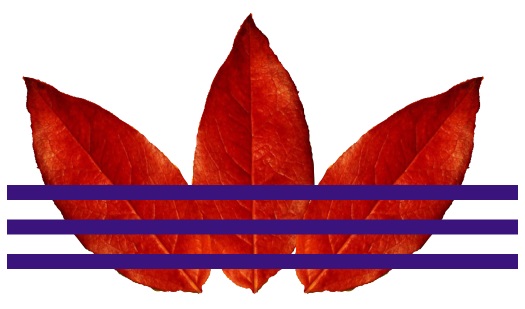
Now we draw a green rectangle that occupies the area of the three leaves and we send it to the bottom with the menu
Object... Move to the bottombecause the difference operation makes holes in the object most to the bottom.Selecting the green rectangle and each of the purple rectangles, we choose the
Path...Differencetool so that the horizontal stripes are subtracted from the green rectangle.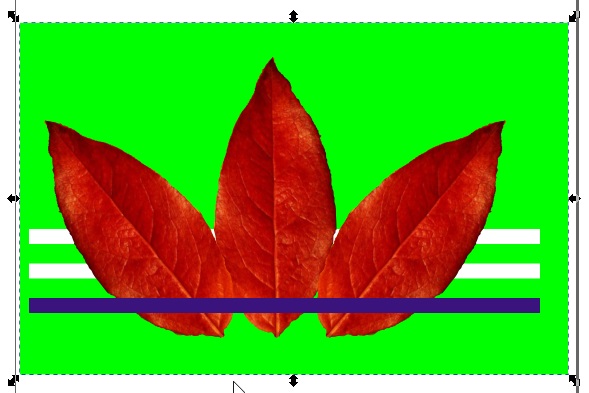
Once the horizontal stripes are finished, we bring the rectangle to the front with the menu
Object... Bring to front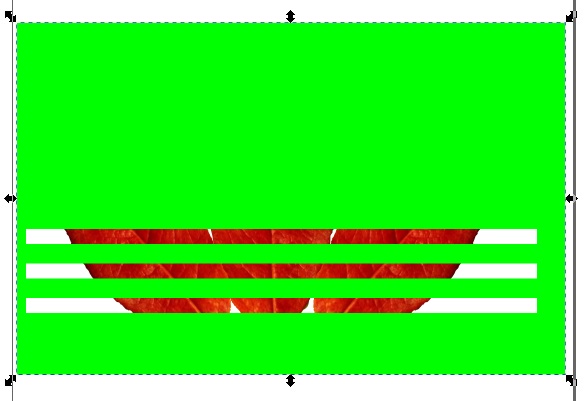
Now we select all the elements of the drawing and perform the operation
Object... Cutout... Apply.
As you can see, only the part of the image that had a solid color is left, and the parts of the image that did not exist in the rectangle have been removed.
To finish we add the text 'The new Fall Collection' with Candara font, Space between letters 0 and Space between words 0.
With the selection tool
 We size the text and center it under the leaves.
We can take the fill color with the Select Colors from Image tool, from some red point on the leaves.
And the logo will be finished.