16. Images II
In this exercise we will insert images in different positions and with different orientations by cropping parts of the image, using the image toolbar.
First we download and open the example document with LibreOffice Writer.
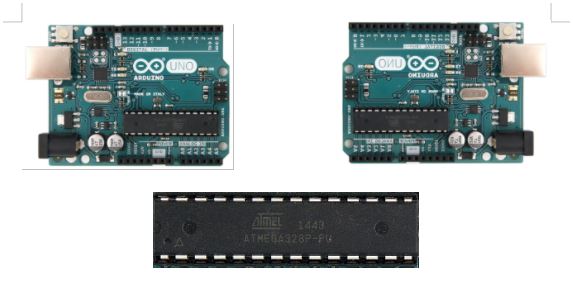
Now we download the image that we are going to insert into the Writer document.
Next we insert the image of the Arduino board in the document with the menu
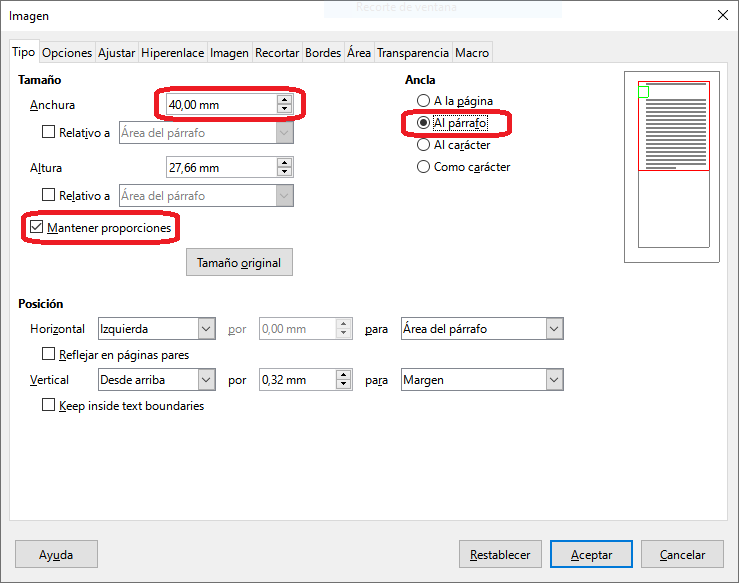
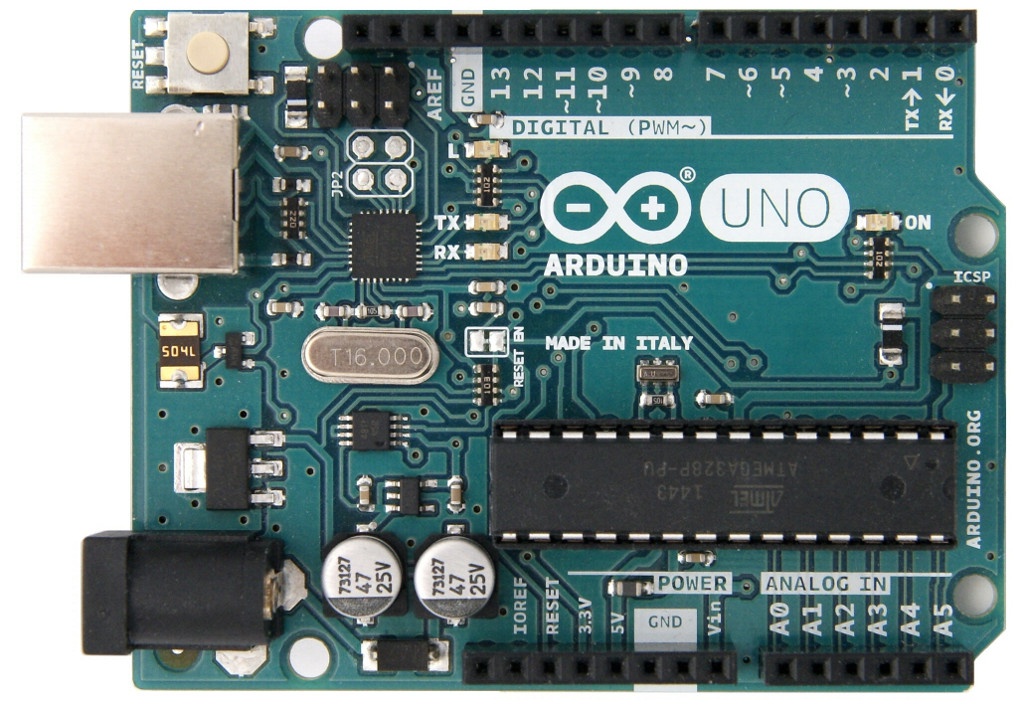
Insert... Image....Once inserted, we resize the image to 40mm wide. We select the image and choose the menu
Format... Image... Properties...or with the right mouse button on the image we chooseProperties....Now in the Type tab we change the width of the photo to 40mm keeping the proportions, as shown in the following image.
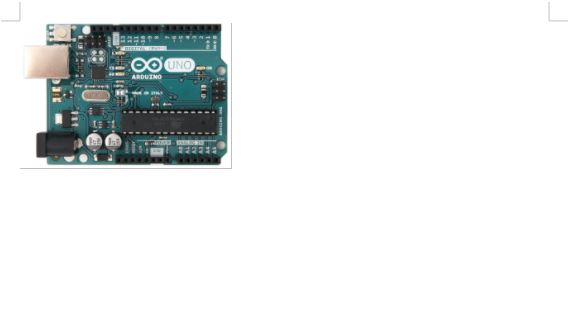
Now we change the position of the image to the left with the align image button
 .
.The result will be the following.
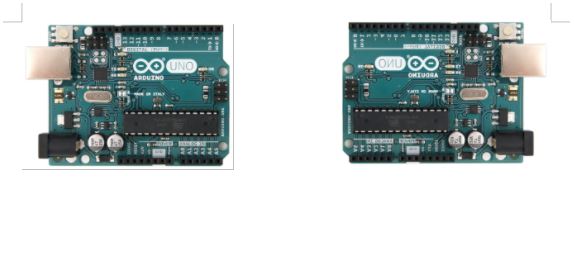
To continue we will insert the image of the Arduino board again, resize it to 40mm wide and align it to the right.
Now we will change the orientation of the image with the mirror-horizontal button
 .
.The result will be the following.
Next we will insert the image of the Arduino board again and we will crop it with the crop image button
 so that only the microcontroller on the board is visible.
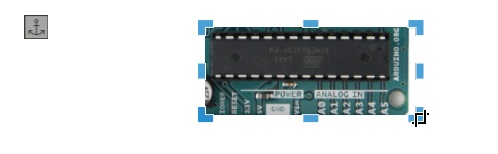
Then click on the text to deselect the image and select it again to increase the size of the image with the buttons that are in the corners.
Then we center the image with the align image button
and center image  .
.Now we rotate the image twice with the rotate image tool
 so that the text of the image can be read to the right.
The result will be the following.
Finally we will do the same as in the previous section with the capacitors on the board, with the following result.
