13. Numbering and bullets
In this exercise we will create multi-level bulleted and numbered lists.
First we download and open the example document with LibreOffice Writer.
Numbering and bullets exercise.When opening the previous file we will find the following window in LibreOffice Writer.
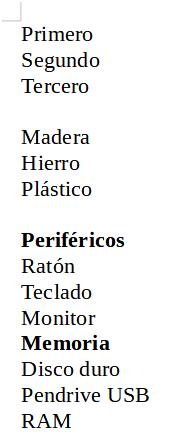
In the text we can see three different lists that we are going to format.
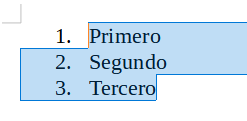
Now we select the first three lines of text and press the numbered list button
 or press the function key F12.
The result will be the following.
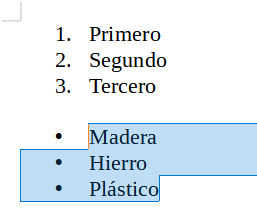
Then we select the following three lines and press the bulleted list button
 .
.The result will be the following.
Finally we are going to format the last lines of text with two different levels of bullets.
We start by selecting all the last lines of text and then press the bulleted list button
.The result will be the following.

We continue selecting the elements of rows 2 to 4 and press the button to go down one level
 , with which the list will change as can be seen below.
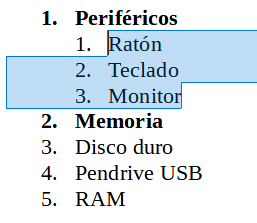
Finally, we select the last three lines and press the button to go down one level again
, with which the list will change as can be seen below.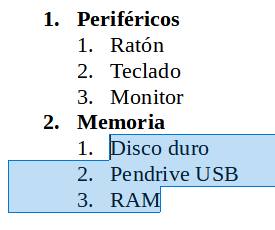
Now that we have the third numbered list with two levels, we are going to change the numbering of the second level to letters instead of numbers.
First we select lines 1 to 3 again and in the
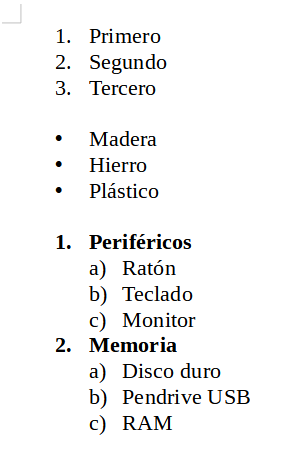
Format... Numbering and bullets...menu in the numbering tab we choose the letters a) b) c).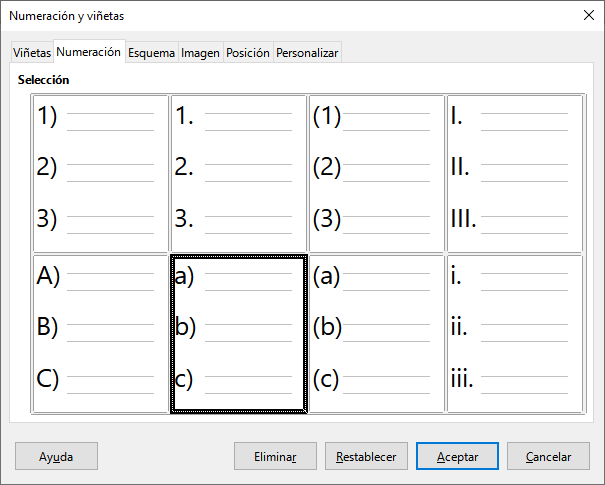
We apply the same format to the last three lines and the full text will be as shown below.