17. Images III
In this exercise we will apply filters and format color and contrast to an image with various tools in the image bar.
First we download and open the example document with LibreOffice Writer.
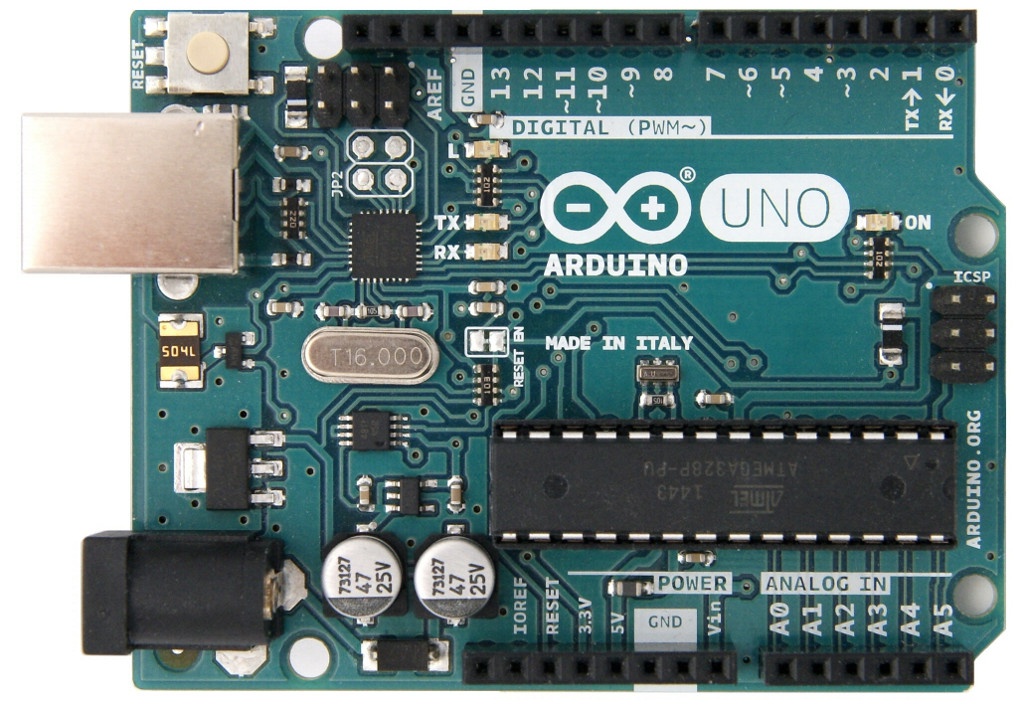
Now we download the image that we are going to insert into the Writer document.
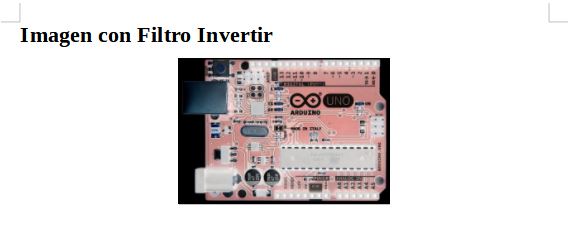
Next we are going to write the title that appears in the image below and insert the image of the Arduino board.
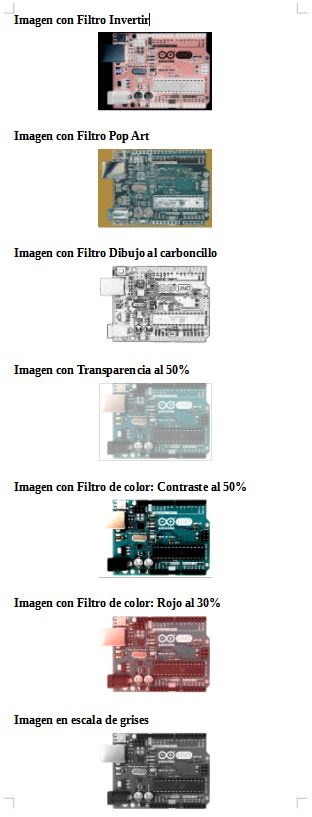
Now we change the width of the image to 40mm keeping the proportions and we apply the Invert image filter with the image filter button
 .
.The result will be the following.
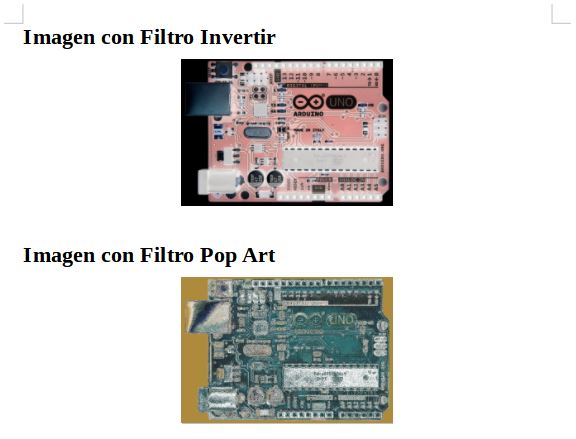
Now we will go with the Return key to the bottom row and we will write the title again, insert the image, resize it and apply the Pop Art filter with the image filter button
.The result will be the following.
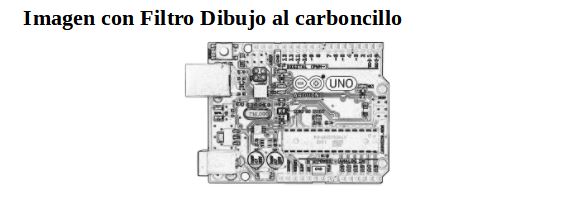
Then we will go to the bottom row with the Return key and we will write the title again, insert the image, change its size and apply the charcoal drawing filter with the image filter button
.The result will be the following.
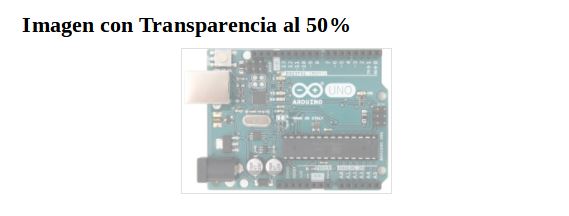
Next we will go with the Return key to the bottom row and we will write the title again, insert the image, change its size and apply Transparency to 50% in the transparency box
 .
.The result will be the following.
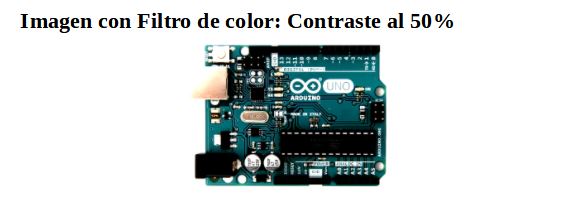
To continue we will go to the bottom row with the Return key and we will write the title again, insert the image, change its size and apply Contrast to 50% with the color button
 in the contrast box
  .
.The result will be the following.
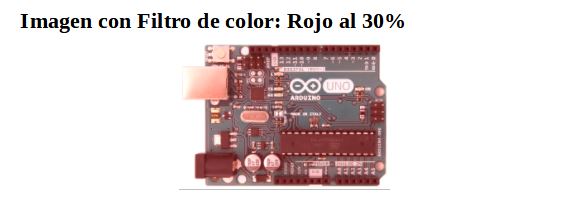
Now we will go with the Return key to the bottom row and we will write the title again, insert the image, change its size and apply 30% Red Color with the color button
in the red color box  .
.The result will be the following.
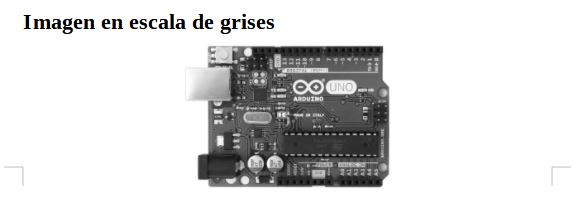
Finally we will go to the bottom row with the Return key and we will write the title again, insert the image, change its size and apply Greyscale image mode with the image mode button
 .
.The result will be the following.
Now we change the scale factor to 75% to see the entire sheet.