15. Images I
In this exercise we will see how to insert images into a LibreOffice Writer document and change their size and position options.
First we download and open the example document with LibreOffice Writer.
Now we download the image that we are going to insert into the Writer document.
Then we place the cursor at the beginning of the first paragraph and insert the image with the menu
Insert... Image...and select the image of Steve Jobs from the download directory.
We continue to format the image. Once the image is selected, we choose from the menu
Format... Image... Properties...or with the right mouse button on the image we chooseProperties.Now in the Type tab we change the following properties and click on OK.
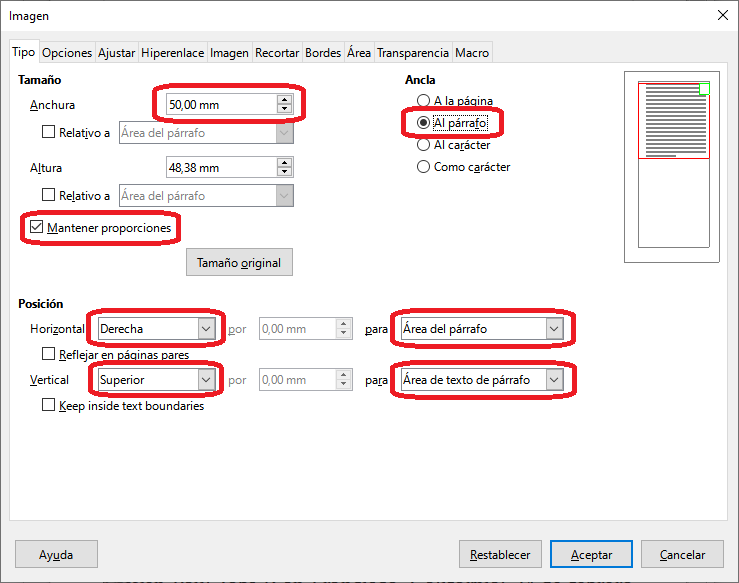
The size of the image will change, as well as its position.
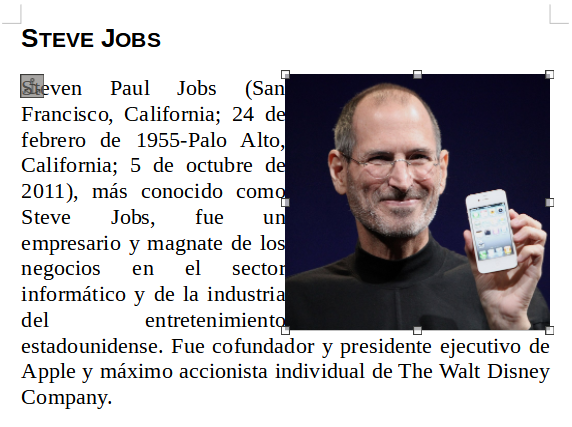
At this moment we can see that the text is stuck to the image, so we must add a margin to make it more clear.
We select the
Format... Image... Properties...menu again or with the right mouse button on the image we chooseProperties.Now in the Adjust tab we change the following properties and click on OK.
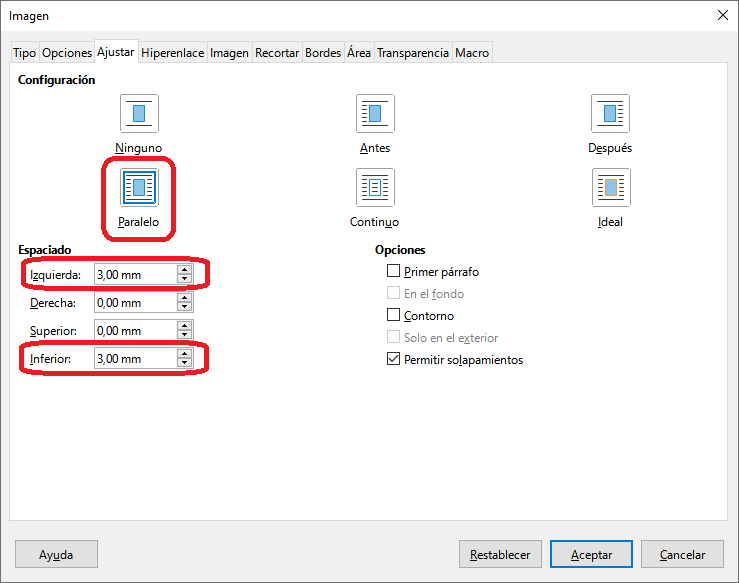
With this we have added margins to the left and below the image so you can see the text around it better.

Credits
The text used in this exercise has been copied from the Wikipedia article on Steve Jobs
La imagen utilizada es de Matthew Yohe con licencia CC BY-SA 3.0, via Wikimedia Commons